What exported image formats keep and lose
An editable design file remembers the words, font, alignment, and layers. An exported image keeps only the visible result. The letters may be crisp, blurry, transparent, shadowed, or printed over a photograph, but they are still part of the same pixel grid as everything behind them.
Replacing a line means clearing those letter pixels and rebuilding the small background area before adding new lettering. The output remains an image. It does not become an editable text layer.
JPG vs PNG vs WebP for text replacement
The extension alone does not tell you which file is better. A large, lightly compressed JPG can be a stronger source than a tiny PNG. Compare the candidates at 100 percent zoom and choose the one with the cleanest letter edges and most intact background texture.
| Format | Best for | Watch out for |
|---|---|---|
| JPG | Photos and marketplace images | Compression halos around sharp letters |
| PNG | Screenshots, graphics, transparency | Larger files and accidental transparency changes |
| WebP | Mixed photo and graphic content | Older publishing workflows may reject it |
Worth noting: Saving a 900 px JPG as PNG does not restore the detail already removed by JPEG compression.
When JPG is the better source image
JPG is often the practical source for product photos, marketplace listings, ads, and banners that contain real photography. If the file is large and lightly compressed, you can use a dedicated JPG text editor to update embedded words while keeping the surrounding details intact.
JPG files often have compression halos around sharp letters, so background review matters as much as the new text. If the edit sits on a product edge, shadow, face, or detailed texture, compare the before and after at 100 percent zoom before publishing.
When PNG is the better source image
PNG is usually stronger for screenshots, interface mockups, diagrams, logos, simple graphics, and files where transparency matters. It often preserves cleaner edges around flat colors and small lettering than a heavily compressed JPG.
PNG is still a flattened image after export. If PNG is the only source file you have and the task is to change words already embedded in it, use the dedicated PNG workflow rather than treating this format comparison as the editing tutorial.
Run a 100 percent edge check
Fit-to-screen previews hide edge damage. Open the source at 100 percent and inspect one high-contrast label. Look for a pale halo, blocky corners, color bleeding, or a double edge around the letters. Those defects give the cleanup less reliable information.
After the edit, inspect the same area again. A good result should not introduce a new rectangle, a sharp texture break, or leftover strokes from the old word.
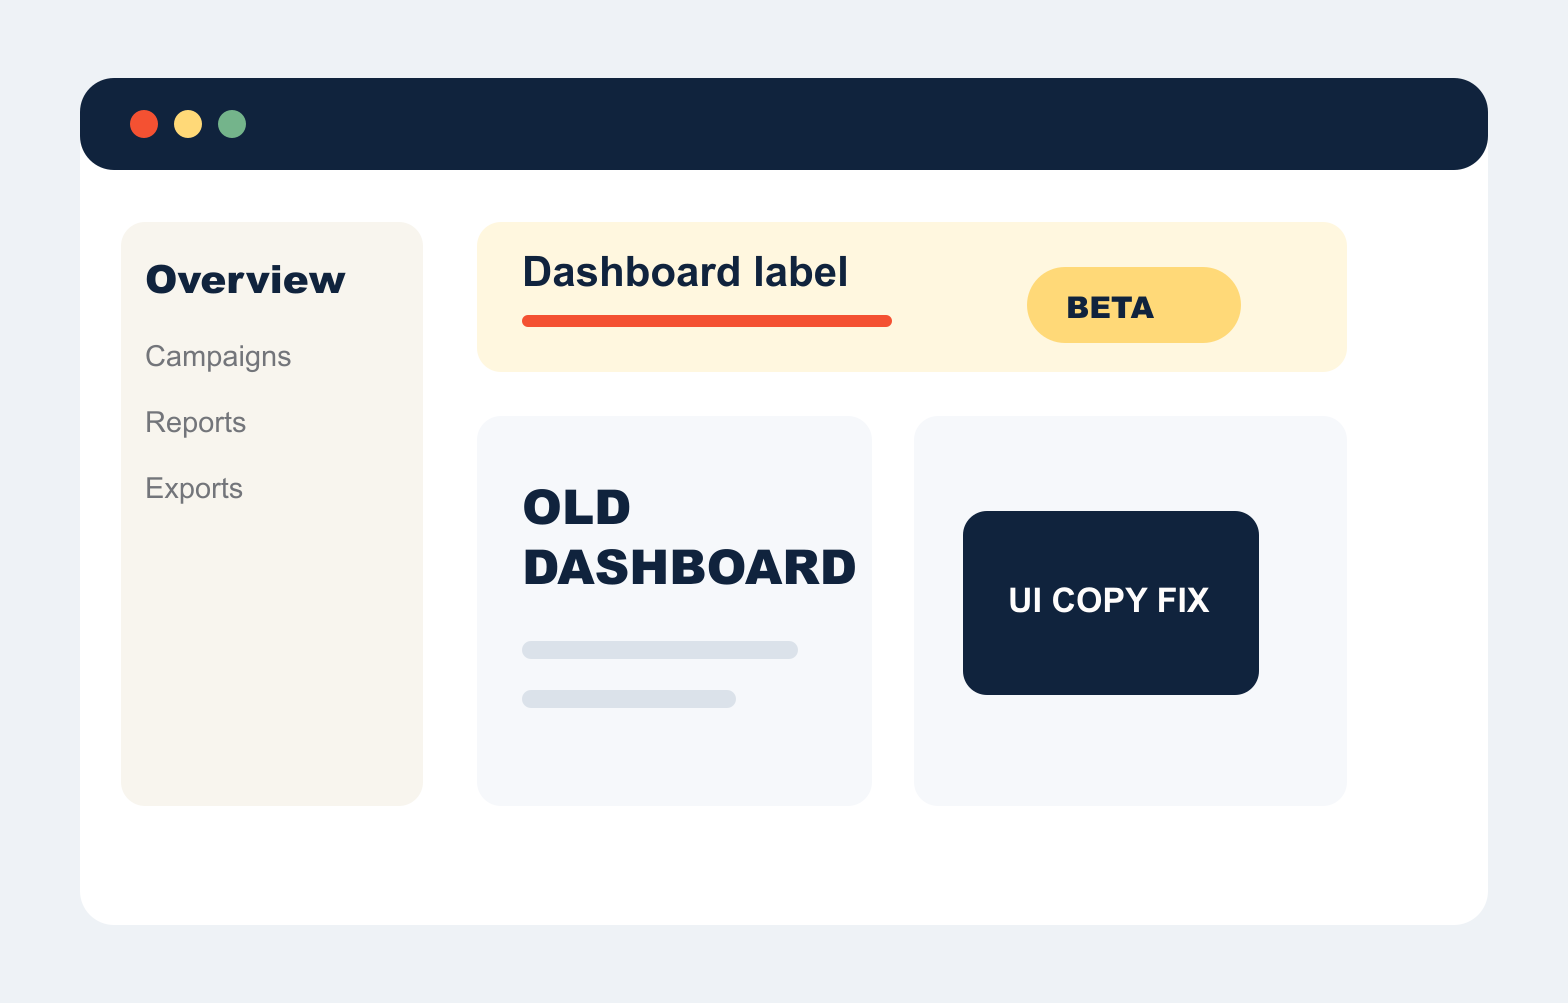
Use the full view to judge layout, then zoom in to judge letter edges and the background immediately around them.
Export once, compress at the end
Keep a lossless PNG copy while the edit is being reviewed. Repeatedly opening and saving a JPG can add another round of compression each time, especially around small text and flat color.
Create the marketplace JPG or WebP only after the wording is approved. If the destination accepts PNG and file size is reasonable, keep it. If the platform requires another format, make that derivative from the clean working file rather than from a previously compressed upload.
- Start with the largest clean source, regardless of extension.
- Inspect edges at 100 percent before and after the edit.
- Preserve transparency only when the destination needs it.
- Make the final compressed file once.
Start with the best source file you have
Do not convert formats just to change the extension. Choose the file with the cleanest edges, make the correction, and compress only for the final destination.
Edit Text in a JPG or JPEG Image